Louisville Wedding Photographer – File Types 101
03/28/2011


Welcome back everyone. This week we will be taking a look at RAW and JPEG file formats.

Alright, we have taken a fairly in-depth look at exposure and what happens when you press the shutter. But, we have yet to discuss the file formats your camera is capable of recording your images into and the pros and cons of those formats.


After you capture an image, your camera records your picture onto your memory card. It typically records this data in one of two ways; either as a RAW file or as a JPEG file. I’m sure many of you have read or heard of these two formats before, but unless you understand the differences between the two it may be confusing to decide whether to shoot in RAW, or JPEG.

JPEG

JPEG stands for Joint Photographers Expert Group. I know, the name really doesn’t help anyone understand what it is, but it’s always good to know. A JPEG file is a lossy format that has been compressed either in camera or in computer. A lossy compression is a type of compression that shrinks file sizes by discarding data (image information) in favor of minimizing the resulting size of the file. The camera and computer have been programed to do this discarding a pretty sophisticated way. It allows the image to remain in relatively high quality, but still small enough to take up little space on a memory card. There are drawbacks to this compression however. Every time you open and close a JPEG image your computer must uncompress  and re-compress the image. This constant compression can degrade an image over time.

RAW

A RAW file is an uncompressed image file. These file types take data directly from the image sensor and process them directly to the memory card. This type of uncompressed image transfer results in a much greater file size, but also in greater file quality. A RAW file maintains its quality through unlimited openings and closings and gives you the most accurate image quality directly from the camera.

Below are some short helpful videos courtesy of Binary Graphite to further explain.


As Imre explained, RAW files do take further processing in order to get them to a useful format. You must convert a RAW file into another format (JPEG, GIF, PNG, PDF) before it can either be printed, or uploaded to the internet. Furthermore not any software can be used to do so. On the market today you will find several different RAW processing programs, but the two main programs released by Adobe are Adobe Camera Raw (ACR) and Adobe Lightroom. Both programs are relatively easy to learn and offer a near limitless way to edit your photos. They also have a rather large following a community of users, so help and presets are easy to come by.

I hope this posts helps those of you who may have been a little confused by the RAW and JPEG

Click here for previous 101 posts

Next week we will be covering basic RAW editing using ACR and Lightroom.

If you have any questions or concerns on the post, feel free to email us and we will be glad to help you. Or feel free to email us any questions you may have about photography and we will be sure to work them into another how-to post.

Email me at: will@vivalaveritas.com

Thanks!
(and comments are always appreciated!)

Louisville Wedding Photographer


Southern Indiana Photographer – Little Miss Sunshine
03/24/2011


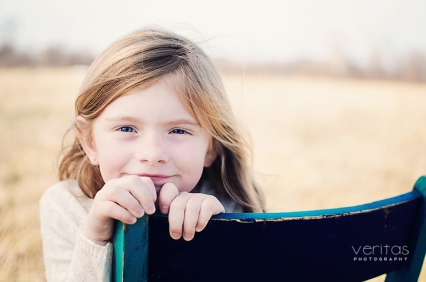
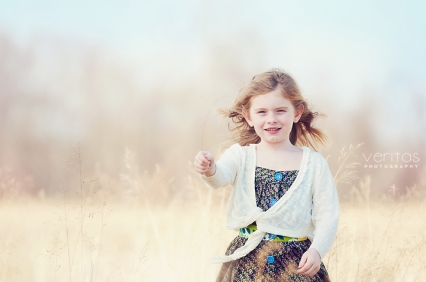
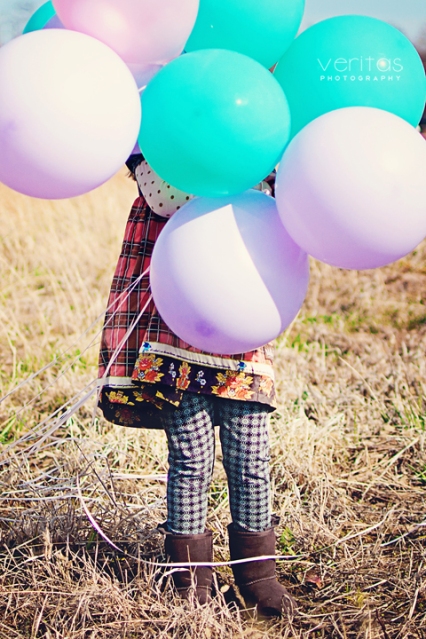
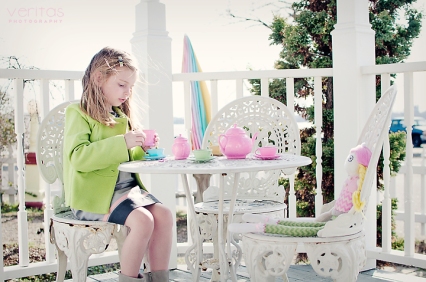
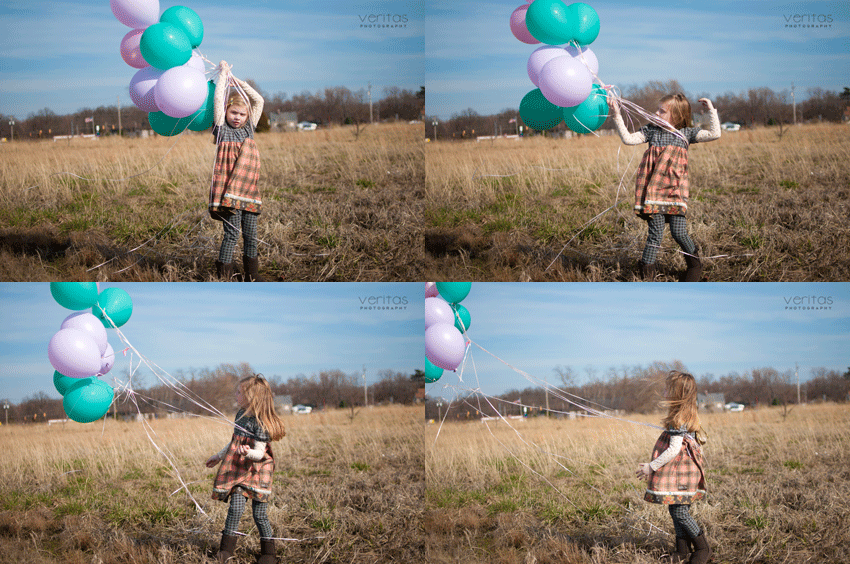
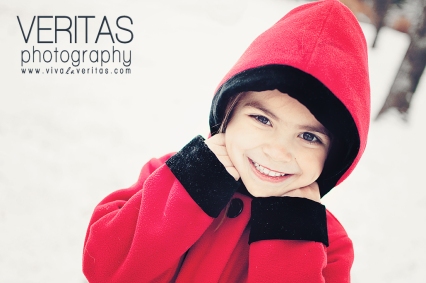
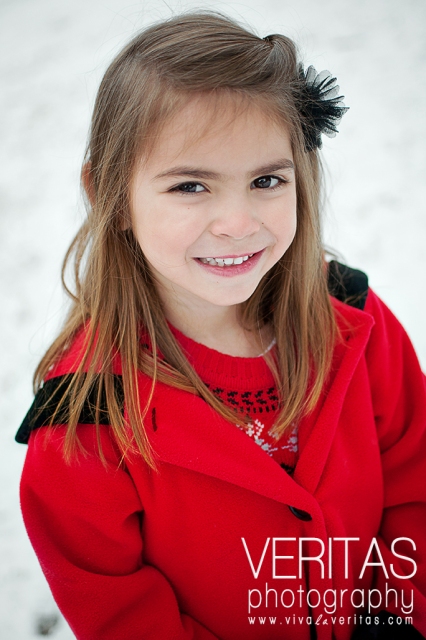
We had a really great time with this girl. It was windy as all get out, but everyone had a fun time playing in the sun. We even had the pleasure of a tea party towards the end 🙂

Southern Indiana Photographer

Southern Indiana Photographer

Southern Indiana Photographer

Southern Indiana Photographer

Southern Indiana Photographer

Southern Indiana Photographer

Southern Indiana Photographer

Southern Indiana Photographer

Southern Indiana Photographer

Southern Indiana Photographer

Southern Indiana Photographer

Southern Indiana Photographer

Southern Indiana Photographer

Southern Indiana Photographer

Southern Indiana Photographer

Southern Indiana Photographer

{Clothing by Matilda Jane, Mini Boden, and Janie+Jack}


Thanks for taking a look.

Contact us to schedule your session

Schedule your spring session today before the beautiful weather is gone.

Louisville Wedding Photographer | Southern Indiana Photographer


Louisville Wedding Photographer – Settings 101
03/14/2011


Welcome back everyone. I hope the weekend was kind to everyone. Our hearts and thoughts here at Veritas go out to those affected by the tragedy in the Pacific.

Today we will be quickly discussing some of the different modes found on your DSLR and how they change the Aperture, ISO, & Shutter Speed settings.

We have already discussed in past weeks what each of the settings do, but now lets take a look at how you actually change those settings.

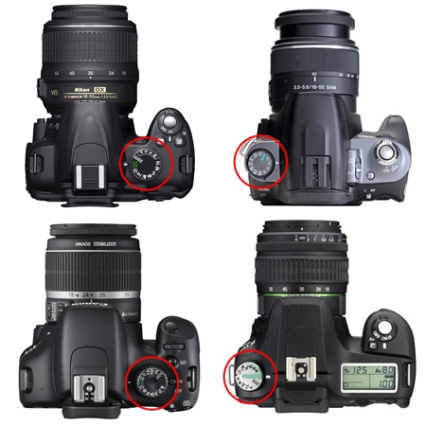
Different manufacturers designed different ways of switching camera modes, but the basics should apply to every DSLR you find across the board. Located on your camera you will find a dial with many different letters and icons displayed along the circumference. In the image below we see a few of the cameras you can find in the market with the dial circled in red.

Here is a close up of a dial found on a Nikon D50. You can see that along the edge there are many different modes, each of these modes adjusts settings in the camera (or gives you the ability to adjust those settings).

Each of the modes have a particular scenario for which they were designed to be used. As the name suggests the AUTO mode gives complete control of the camera settings to the camera its self. This really frees the photographer to just point and shoot. The camera also retains control of the pop-up flash and will use if when it feels the light is insufficient.

The other pictorial icons are spin offs of the Auto mode, with setting differences tailoring them to specific shooting scenarios. For example: The icon with the lady wearing the hat is a portrait mode that tells the camera to use a wide aperture for shallow depth of field. The running man icon is a sports mode that tells the camera that you need a fast shutter speed to capture motion. While these modes are convenient in a pinch they really relinquish a lot of control to the camera and often can inhibit your creative photo abilities.

PSAM

The letters on the dial P,S,A,&M are the user controlled modes on your DSLR.

Program Mode

Shutter Priority Mode

Aperture Priority Mode

Manual


Program mode is similar to the Auto mode discussed earlier, however in Program mode the camera only controls the Aperture and Shutter speed of the shot, the user retains control of ISO and any flash use the scene may call for.

Shutter Priority mode gives the photographer the ability to select the desired shutter speed and let the camera determine the best aperture to use with that selection. The photographer still retains control of the ISO in this mode.

Aperture Priority mode is similar to the previous mode, but the photographer determines the desired aperture value and lets the camera balance the shot with the proper shutter speed.

Manual mode – As the name suggests, manual mode gives the photographer complete control of every camera setting.

PSAM offers photographers greater creative control over the images taken in a given scene, but do require a little bit more knowledge of the workings of the camera to use effectively. This is in contrast to their more automatic counterparts that allows the camera to take on the setting responsibility.

P,Tv,Av,&M

Some of you may be looking at your cameras now and wondering why you don’t have PSAM.

There are camera manufactures, most notably Canon, that uses different names for the same modes. On a Canon DSLR Shutter Priority mode is replaced by Tv, or Time Value mode. The mode is the exact same as Shutter Priority mode, just a different name.

Similarly the Av, or Aperture Value mode is the exact same as the Aperture Priority mode discussed earlier.


I hope this posts helps those of you who may have been a little confused by the camera settings.

Click here for previous 101 posts


Next week we will be covering jpeg and RAW. What’s it all about?

If you have any questions or concerns on the post, feel free to email us and we will be glad to help you. Or feel free to email us any questions you may have about photography and we will be sure to work them into another how-to post.

Email me at: will@vivalaveritas.com

Thanks!
(and comments are always appreciated!)

Louisville Wedding Photographer

Louisville Wedding Photographer – Exposure 101
03/06/2011


Hello all and welcome back. Today we will be bringing the big three (ISO, aperture, shutter speed) together and quickly talk about how they work together to make a proper exposure.

Proper Exposure

What is it?

Proper exposure is kind of a relative term, because different images may call for a different exposure to convey the point of the image. But generally speaking, proper exposure happens when an image is taken that allows a certain amount of light to fall upon a photographic medium that keeps highlight and shadow detail intact. What does this mean? When you shoot an image the relative goal is to take a picture that is neither too dark, nor too bright, minimizing both highlight “blowout” and shadow detail loss.

Highlight Blowout


As you can see in the image above, highlight “blowout” is very obvious. This is a clear cut example of an overexposed image. You can see in the image highlight detail is lost due to the camera sensor exposed so long that all it recorded in those areas was bright white light.

While you generally want to avoid blown out images, there are times when overexposed images can be used for aesthetic reasons.


In the image above we clearly see highlight blowout, but in this image it was intentional and I feel works for the intention of the image. Sometimes it comes down to personal preference.


Underexposed

On the other hand you generally want to avoid images on the other end of the spectrum. In the image above we notice that is rather dark, which makes it difficult to see the details in the shadow areas.


Metering

In most situations it is a good practice to use your in-camera light meter to help you gauge whether or not your image will be properly exposed.


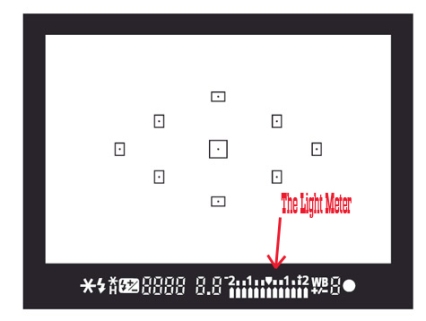
The gauge that helps you with exposure looks something like the image above. Notice the scale:

-2..1..0..1..+2

This scale is helpful in understanding the way the camera is reading the light in front of the lens. If the camera is reading too much light it will position the indicator on the positive side of the scale, if too dark towards the negative side of the indicator.

You can also find the same scale as you look through your view finder.


It should be noted that not every camera has the exact scale as seen in the above two images. My Nikon has a reversed scale:

+2…1…0…1…-2

You generally want the indicator to be positioned towards the middle of the scale, however with Photoshop and RAW processing you have quite a bit of leniency with exposure.


The Big Three

Alright,  so now that we know what to avoid, but how do we get properly exposed images? Great question. Using ISO, aperture, & shutter speed.

Your first step is to meter the situation and decide if this is a situation that requires more or less light. Next you adjust you camera settings to meet the light needs of the given situation… easy right?

Okay, let’s break it down.

If a lighting situation is registering rather dark on your meter, then you will in all likelihood need to provide your camera’s sensor with more light. Now, how do you do this? If you have been following along in the 101 series, you know that each of the three settings increases, or decreases effective light (except ISO, which increases the sensitivity to available light). So to provide you camera with more light you need to change a setting(s) to increase the light flow (or sensitivity) to the sensor.

In the images below you can see how adjusting the settings can get more light to the sensor, making an under exposed image brighter.

©Veritas Photography

Aperture

©Veritas Photography

Shutter Speed

©Veritas Photography

ISO

With each consecutive shot in the sequence we have increased the flow of (or sensitivity to) light, allowing for a more exposed image.

Remember though, with each setting change there is a resulting visual bi-product. In the case of ISO we get digital noise. With an increase in aperture we get a shallower depth of field. With a longer shutter speed we allow the chance for motion blur.

Every situation may need to be dealt with in different ways depending on the needs and what your photographing. Perhaps you are photographing a basketball game in a dark gym. If you need more light it will be more beneficial to you to open up your aperture, rather then slow down your shutter speed, which will result in motion blur in the images.

Seeking balance.

In every shot that requires you to adjust your settings remember to ask yourself, “am I loosing, or gaining light?”. When you are shooting for a proper exposure,  change in one area may need to be balanced in another area.

For example, if you are taking a picture of a flower and you are correctly exposed, but you want to open up your aperture to draw more attention to the subject using a shallow depth of field, you will be over exposed. To balance this you can easily speed up your shutter bringing you back to a proper exposure.

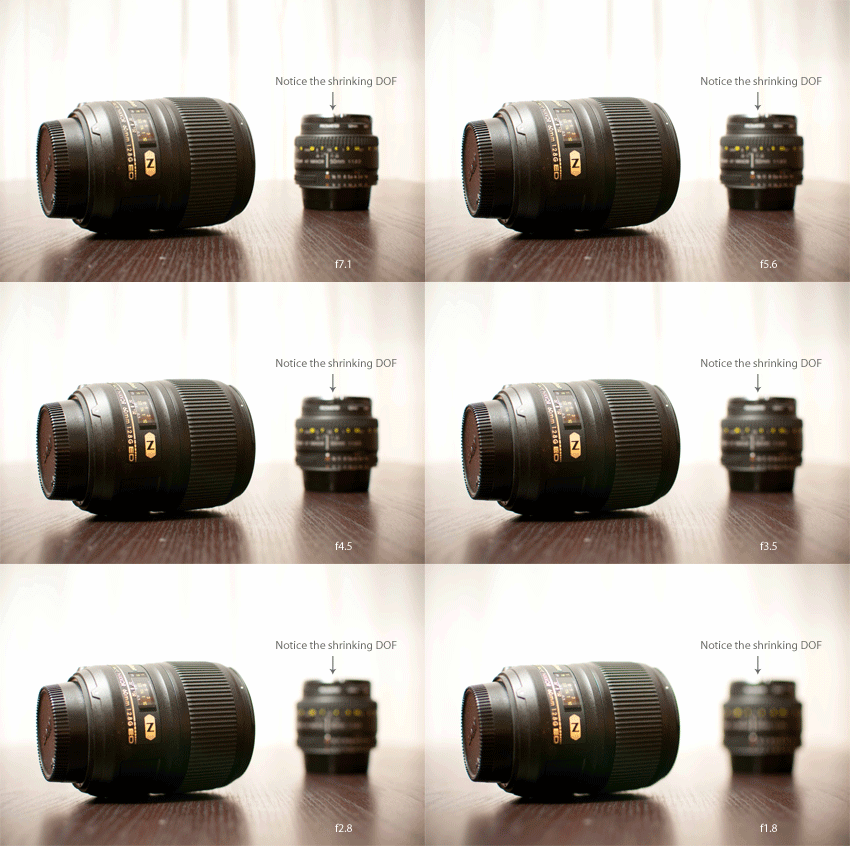
In the animation below I have shot the lenses at different apertures, but balanced the larger apertures by increasing my shutter speed each time.

Thanks for reading. Remember to meter and seek balance between the settings for proper exposures and beautiful pictures.

I hope this posts helps those of you who may have been a little confused by exposure.

Click here for previous 101 posts

Next week we will be covering the camera dial and the setting you find there, namely P,S,A,&M (or P, Tv, Av,&M for Canon users).

If you have any questions or concerns on the post, feel free to email us and we will be glad to help you. Or feel free to email us any questions you may have about photography and we will be sure to work them into another how-to post.

Email me at: will@vivalaveritas.com

Thanks!
(and comments are always appreciated!)

Louisville Wedding Photographer


Louisville Wedding Photographer – ISO 101
02/27/2011


Welcome back. Today we will be quickly discussing camera ISO and how we use and control it to create great photos.

ISO

What is it?

ISO is the measurement of the light sensitivity of your image sensor.

ISO stands for International Standards Organization, which is the organization that standardizes measurements internationally, so the settings are consistent from one camera to another and from country to country. This is not to say that every camera handles ISO settings the same, just that ISO 200 is the same across the board for example.

The Sensor

The camera’s sensor is the light recording mechanism found in digital cameras. It has one job and that is to take light and convert it to a digital signal. There are different types of digital sensors (CCD, CMOS) and each has a slightly different way of completing the task.

How it works

As light enters the camera lens and passes past the shutter curtains it falls on the image senor.

The light particles (photons) strike different parts of the image sensor and are converted into a digital signal using the photosensitive pixels which cover the sensor. The pixels are only capable of recording a single color, either Red, Green, or Blue (RGB), which when combined in different ways are capable of producing all the colors we see around us. To selectively capture either R, G, or B sensors implement different filters to block all but one of the primary colors. This idea will be explored in greater detail in a future post, but to demonstrate the process here is a great video.

Ok… back to ISO

We know that each pixel records the available light, but it is also possible to increase each pixels sensitivity to that available light, thereby allowing you to take correctly exposed photos when available light is lacking.


ISO is measured in stops. The lower the stop the less sensitive the sensor is to incoming light, the higher the stop the greater the sensitivity to incoming light. Above is a scale showing the ISO whole stops. Some cameras are capable of breaking down this scale into more selective stop (i.e. 125, or 250) and some cameras can go much higher then ISO 6400.

Noise/Grain

While increasing the sensitivity of the sensor allows you to take correctly exposed images with less light, there is a draw back to consider before cranking the ISO up, noise. Image noise is the grainy distortion present in an image that has been taken at high ISO’s.

Above is an image taken at ISO 6400 with our Nikon D300s. If you look at the zoomed in arm region (you can also click the picture for enlargement) you can see the noise present due to shooting at a high ISO.

Not all camera are created equal when it comes to ISO and noise, higher end cameras can take photos at high ISO’s with minimal noise.

Controlling ISO

Sometimes there is no way around noise if you want the shot, but there are ways of controlling it. Aside from shooting at a lower ISO in effort to reduce noise, there are many programs and plug in’s to control digital noise.

When working in Adobe camera raw (ACR) there is a Noise Reduction tool that aids you in smoothing out noise. A similar tool is found in Adobe Lightroom

There are also many different, yet useful plug ins that accomplish the same goal. Topaz Labs offers a product DeNoise that smooths out noise fairly well.

Creative ISO

A general rule of thumb is to use the lowest ISO possible when shooting. This allows you to avoid digital noise. Take this rule with grain of salt however. With modern camera processors and Full Frame image sensors high ISO is not as troublesome as it sounds. Full frame sensors have larger pixels which gather light more efficiently reducing noise. Modern image processors use complex algorithms to reduce noise in an image.

But not all noise is bad. There may be times when you want noise… Whaaat?

Often times noise can be used creatively, especially in B&W images IMO.


Sometimes noise can add a gritty dramatic feel that could not be pulled off without it.

I hope this posts helps those of you who may have been a little confused by ISO.

Click here for previous 101 posts

Next week we will be covering how the big three (Aperture, ISO, & Shutter Speed) work together to create a proper exposure.

If you have any questions or concerns on the post, feel free to email us and we will be glad to help you. Or feel free to email us any questions you may have about photography and we will be sure to work them into another how-to post.

Email me at: will@vivalaveritas.com

Thanks!
(and comments are always appreciated!)

Louisville Wedding Photographer


Louisville Wedding Photographer – Daily Life: 2
02/25/2011


Good morning everyone! I hope everyone is ready for the weekend.

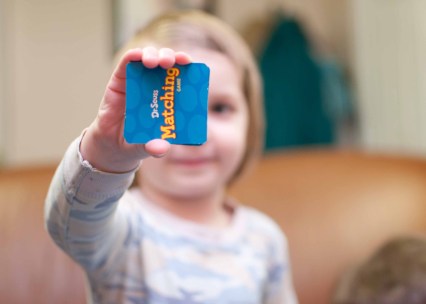
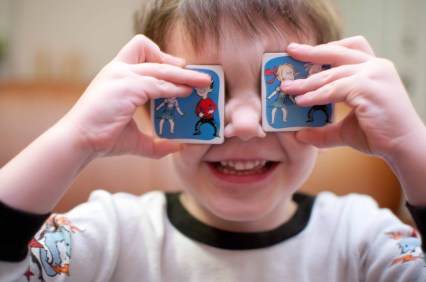
We decided to play Dr. Seuss Memory with the kids last night and thought it would make a great Daily Life post.

Enjoy all!!


They literally knocked down the stack as I was taking the picture… kids.

Thanks for taking a look.


Louisville Wedding Photographer : Aperture 101
02/12/2011


Welcome everyone!! We have received many emails from fans asking various questions about photography how to’s. Rather then email each person with the answers to their queries, we decided to start a regular blog series in which we discuss cameras, lenses, photoshop, flash and everything else we can think of to help everyone take great photos.
nikon, d300, camera

We will be kicking the series off with a discussion about

Aperture

So… what is aperture?

The camera’s aperture is an adjustable diaphragm housed within the camera’s lens. It acts as a valve controlling the amount of light being allowed into the camera body. The wider the aperture the larger the flow of light entering the camera and the smaller the aperture the smaller the flow of light. Simple, right?


F stops

The size of the aperture opening is measured in F stops (short for focal stops). The lower the number in the F stop, the wider the aperture. So, F2.8 is wider then F22, even though 2.8 is a smaller number than 22.

Below is an example of typical whole stops you will find on your camera.
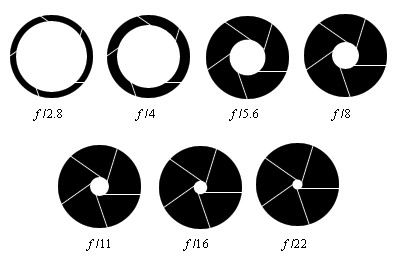
Some cameras are capable of breaking down the F stop ranges even further then whole stops. The Nikon D300s is capable of using 3rd stop aperture settings, which gives the photographer more variety from which to choose an aperture setting.

Below is a list of apertures in the 3rd stop:

Lens types

When it comes to aperture, all lenses are not created equal. This is not necessarily a bad thing as each different aperture type has it’s advantages and disadvantages. Whether it be price, low light ability, zoom ability, extremely wide aperture, etc.

Fixed & Variable aperture

Above is an image of two wide angle zoom lenses. Each has similar focal lengths, but where they differ is their use of aperture. The lens on the left has the ability to maintain a wide aperture (F2.8) throughout it’s entire zoom range. The lens on the right has a variable aperture. This means that the widest aperture possible with this lens changes depending on the focal length (how much or little your zoomed). Example: if your camera is set to F3.6 @ 18mm with this lens and then you zoom to 55mm your aperture will change to F5.6.

Prime lenses
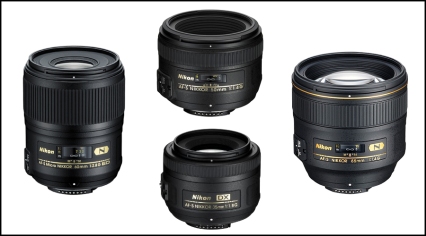
Above are a few Prime lenses. Prime lenses or fixed focal length lenses, cannot zoom but have the advantage of being able to implement large aperture F stops; 1.8, 1.4, 1.2 and beyond. This fact makes them extremely versatile in low light situations.

Depth of Field

Every setting on the camera produces a change within the images being produced, sometimes known as a visual bi-product.

Aperture settings affect the distance that objects are able to be in focus within the image. This distance of focus is refereed to as Depth of Field (or DOF). In order to illustrate this principle, I’ve created a little diagram.

In this diagram, the cameras are on the left (yes the small strange box shapes are supposed to be cameras as my wife asked me) are shooting the the subjects at different aperture F stops. The top camera is shooting at F2.8. This wide aperture produces a shallow depth of field causing the figures in the foreground and background to become out of focus closer to the subject. The camera at the bottom is shooting at F16. This smaller aperture creates an expansive depth of field, meaning that more things are in focus in the foreground and background and they remain so at a greater distance from the subject.

©Veritas Photography


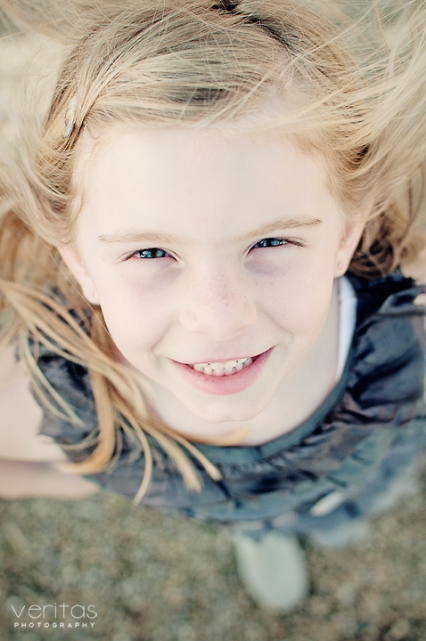
The above photo was shot with an aperture of F1.8. This wide aperture caused a shallow depth of field, which caused the background of the image to become greatly out of focus.

This photo was shot at a much smaller aperture, F16. This caused an expansive depth of field, which results more in focus objects at greater distances from the focus point.

Four other factors that influence DOF (depth of field) besides aperture are:
1. Focal length
2. Subject distance
3. Print size
4. Viewing distance
(These will be discussed in later posts)

Using Depth of Field

Different apertures offer different creative avenues for photographers to use in their photographs. Wide apertures allow photographers to utilize shallow depth of field to emphasize their intended subjects from the background (as in the photo of the little girl above). Expansive depth of field works well in landscape photography as it allows for sharp detail throughout the entire image (as in the picture above).


Bokeh

Up to this point I have been referring to the out of focus areas of a photo as “the out of focus area”. The technical term for the fuzzy background stuff is called Bokeh. Bokeh is the blur, or the aesthetic quality of the out of focus areas of an image. The word is derived from the Japanese word boke, which means “blur, or “haze”. The bokeh in images however can be used in creative ways and has been used by many photographers as subject matter rather then just unintentional background stuff as seen in the images below.


It is even possible to shape the bokeh with little more then a cut out placed in front of the camera lens.


Problems to watch out for

Until you get the hang of bending the aperture to your will, there are some things that beginning photographers need to be aware of when adjusting aperture.

Group shots and shallow DOF

When shooting a group (or even two subjects) it is often hard to get them all on the same focal plane (the distance that the camera is in focus at).  When this occurs, a shallow DOF can cause the subjects even just a little bit in front of, or behind the focused point to become blurry.

In the above photo the little girls are no more then 7 in or so apart, but due to the shallow DOF one is out of focus in each image. The solution to this problem is either to “stop up” (increase my F stop) in order to increase the DOF, or to raise my camera and shoot down in effort to put both children on the same focal plane.

By increasing the DOF more of the image will be included in the in-focus areas meaning that both children will be in focus.

The second solution mentioned is raising the point of view of that camera.

In the image above the camera was raised above the subject (the awesome stick men!!) and pointed at a downward angle. This enables the photographer to attempt to put the subject all on the same focal plane and as such get them all in focus.


Small aperture & motion blur

On the other side of the coin another potential problem to be aware of is motion blur. When you use a high F stop (F16, F22…) you are restricting the flow of light to the camera, to compensate your camera
(If you aren’t in manual) will slow down your shutter speed to make up for the restricted incoming light. If not prepared for your image may suffer from motion blur.

In the photo above a small aperture creates an expansive DOF, but the camera needed more light to create a proper exposure, so it slowed down the shutter speed resulting in motion blur. By “stopping down” (increasing the size of the aperture) you can solve this problem as it allows more light in, which lets the camera speed up the shutter.

Well 1258 words seems like a good stopping point for me.

I hope this posts helps those of you who may have been a little confused by aperture.

Next week we will be covering Shutter Speed, so check back and hear me ramble on about the subject (or read, in this case).

If you have any questions or concerns on the post, feel free to email us and we will be glad to help you. Or feel free to email us any questions you may have about photography and we will be sure to work them into another how-to post.

Email me at: will@vivalaveritas.com

Thanks!
(and comments are always appreciated!)

Veritas Photography


Louisville Senior Photographer | Landon’s Senior Experience.
02/04/2011


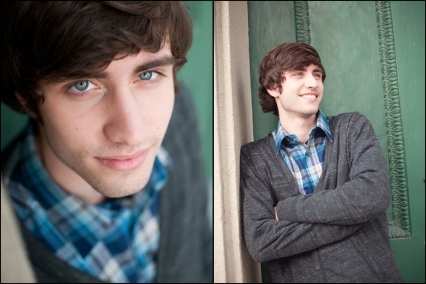
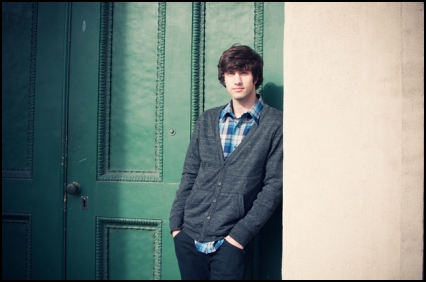
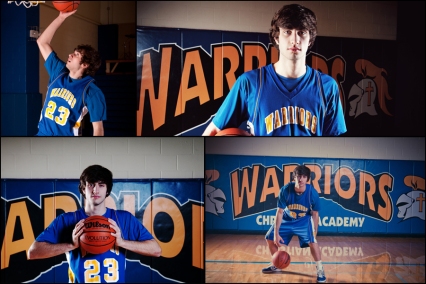
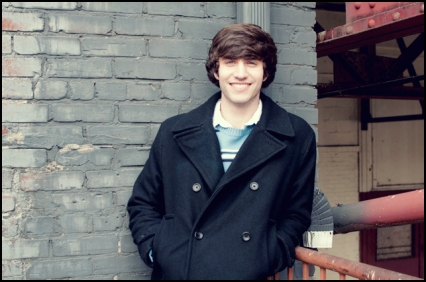
It was cold and windy, but Landon was stoic through the whole shoot. By far one of the most relaxed senior photography sessions we’ve ever done. We had a such great time hanging out in Louisville with this guy and his mom that we didn’t even realize that we went an hour over. Check out some of  his pics.

Senior Photography, Louisville, Indiana, Southern, Christian Academy

Senior Photography, Louisville, Indiana, Southern, Christian Academy

Senior Photography, Louisville, Indiana, Southern, Christian Academy

Senior Photography, Louisville, Indiana, Southern, Christian Academy

Senior Photography, Louisville, Indiana, Southern, Christian AcademyTell me this shot doesn’t make him look like Ringo.

Senior Photography, Louisville, Indiana, Southern, Christian AcademyClassic GQ

Senior Photography, Louisville, Indiana, Southern, Christian AcademyMy favorite from the whole session.

Senior Photography, Louisville, Indiana, Southern, Christian Academy

Senior Photography, Louisville, Indiana, Southern, Christian Academy

Senior Photography, Louisville, Indiana, Southern, Christian Academy

Senior Photography, Louisville, Indiana, Southern, Christian Academy

Senior Photography, Louisville, Indiana, Southern, Christian Academy

Senior Photography, Louisville, Indiana, Southern, Christian Academy

Thanks for taking a look.

Book your session today!!

Facebook

Senior Photography, Louisville, Indiana, Southern, Christian Academy


Veritas Photography

A new standard for a new generation

Viva La Veritas

Louisville Family Session – Christmas Day | Louisville Family Photographer
01/08/2011


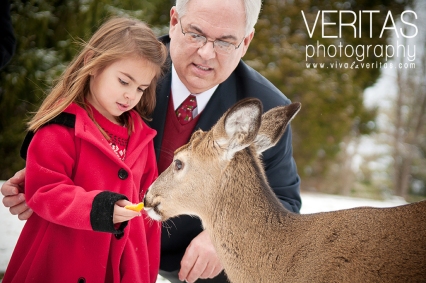
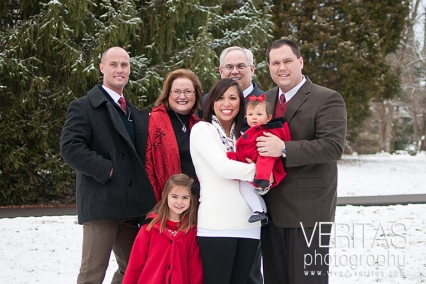
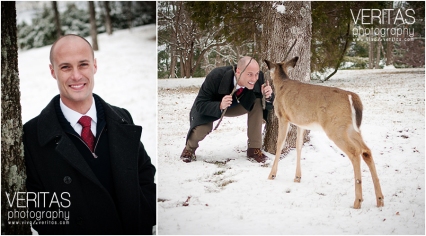
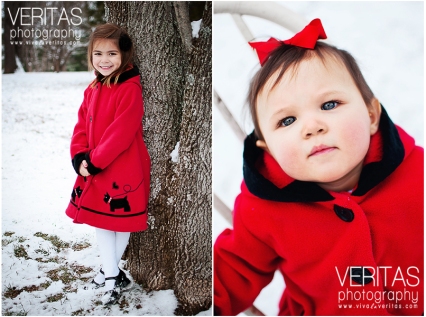
We had an amazing photography session with the Williams family on Christmas day. We really enjoyed spending time with them… plus they had a pet DEER!! You really can’t ask for a better family session.

Louisville, photographer, photography, family, lifestyle, Veritas
Me feeding the deer.

I just realized after inserting the photo how big my smile was. I didn’t even know there were deer in Louisville.

Louisville, photographer, photography, family, lifestyle, VeritasLouisville, photographer, photography, family, lifestyle, VeritasLouisville, photographer, photography, family, lifestyle, VeritasLouisville, photographer, photography, family, lifestyle, Veritas

Of course we had to get their pet dogs in with the family! The house was completely decked out in Christmas cheer. It looked like it was straight out of a magazine.

Louisville, photographer, photography, family, lifestyle, Veritas

And yes, Matt is fighting the deer with our chair. While Alyssa was standing on the chair the deer attacked it. I guess he thought it was antlers.

Louisville, photographer, photography, family, lifestyle, Veritas

Louisville, photographer, photography, family, lifestyle, VeritasLouisville, photographer, photography, family, lifestyle, VeritasLouisville, photographer, photography, family, lifestyle, Veritas

Louisville, photographer, photography, family, lifestyle, Veritas

Louisville, photographer, photography, family, lifestyle, Veritas

Louisville, photographer, photography, family, lifestyle, Veritas

Louisville, photographer, photography, family, lifestyle, Veritas

Louisville, photographer, photography, family, lifestyle, Veritas

Louisville, photographer, photography, family, lifestyle, VeritasLouisville, photographer, photography, family, lifestyle, Veritas

Louisville, photographer, photography, family, lifestyle, VeritasLouisville, photographer, photography, family, lifestyle, Veritas

Louisville, photographer, photography, family, lifestyle, Veritas

Louisville, photographer, photography, family, lifestyle, Veritas

Louisville, photographer, photography, family, lifestyle, VeritasLouisville, photographer, photography, family, lifestyle, Veritas

Veritas Photography
Louisville Wedding Butterfly
01/07/2011


While I was cleaning out our archives, I came across this image I took this year while photographing a wedding in Louisville .

I liked the way it looked so I decided to share it with everyone.

Louisville, wedding, photographer, butterfly

Louisville Butterfly

Shot w/a Nikon D300s and a Nikkor 24-70 2.8 || 1/160@2.8